Limewash Living Rooms: Warm, Textured & Calm (2025 Guide)
Limewash walls bring depth, texture and old-world charm to any living room. Colour picks, application tips, furniture pairings and shoppable essentials inside.
Limewash Living Rooms: Why This Finish Has Taken Over Our Feeds
You know that look—the walls that seem to glow from the inside, all chalky and layered and slightly imperfect? That’s limewash. And honestly, once you see it in person, regular paint starts looking… kind of flat and lifeless.
I’ve been slightly obsessed with this finish for a while now. It hits that sweet spot between “expensive European villa” and “I could actually do this on a Saturday.” The texture is subtle but it changes how a room feels—softer, calmer, almost like the walls are breathing. If you want that lived-in, designer-curated vibe without hiring one, limewash is your shortcut.
Why Limewash Keeps Showing Up Everywhere
Here’s the thing—it’s not just a trend. Limewash has been around for literally centuries (think Italian farmhouses, Greek islands). But it’s hit mainstream interior design hard in the last couple of years, and for good reason:
- It hides imperfections. Small cracks, uneven textures, patchy drywall—limewash works with them rather than exposing every flaw like flat paint does.
- The light changes it. Morning sun hits a limewash wall and it looks warm and golden. Evening light? Moody and deep. It’s like having walls that shift with your mood.
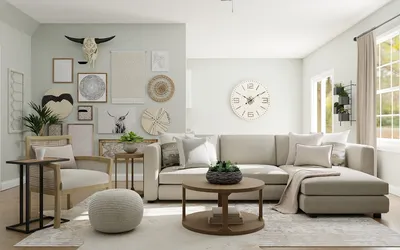
- It works with everything. Pair it with a modern living room setup or go full rustic—it doesn’t care. It blends.
- It actually ages well. Unlike painted walls that just get scuffed and sad, limewash develops character over time. The natural patina adds depth, not damage.
And honestly? It’s just nice to touch. Sounds weird, but the matte mineral texture feels warm under your fingertips. Completely different from acrylic paint.
Choosing Your Limewash Colour
This is where most people overthink it. Here’s my honest approach:
Warm Neutrals (the safe bet that always delivers)
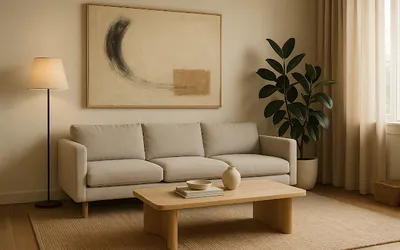
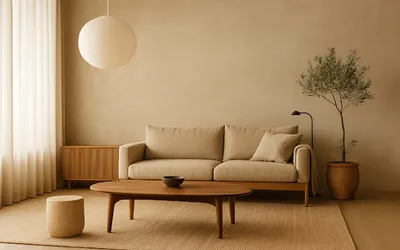
Bone, putty, oatmeal, greige—these are the colours that make a room feel like a warm hug. I tend to layer similar tones so the wall shifts gently throughout the day rather than sitting static. Match your undertones to your flooring and trim, and you’re golden.
My go-to combo: A warm putty limewash with white oak floors and linen curtains. Simple. Stupid good.
The Moody Approach (for when you’re feeling bold)
Sage green, dusty rose, warm charcoal—these colours in limewash? Completely different from the same shade in regular paint. The mineral base softens everything so even a darker colour feels inviting rather than cave-like. I’ve seen a deep olive limewash in a small living room that made the space feel bigger, not smaller. Counter-intuitive, but it works.
What to Put Next to Limewash Walls
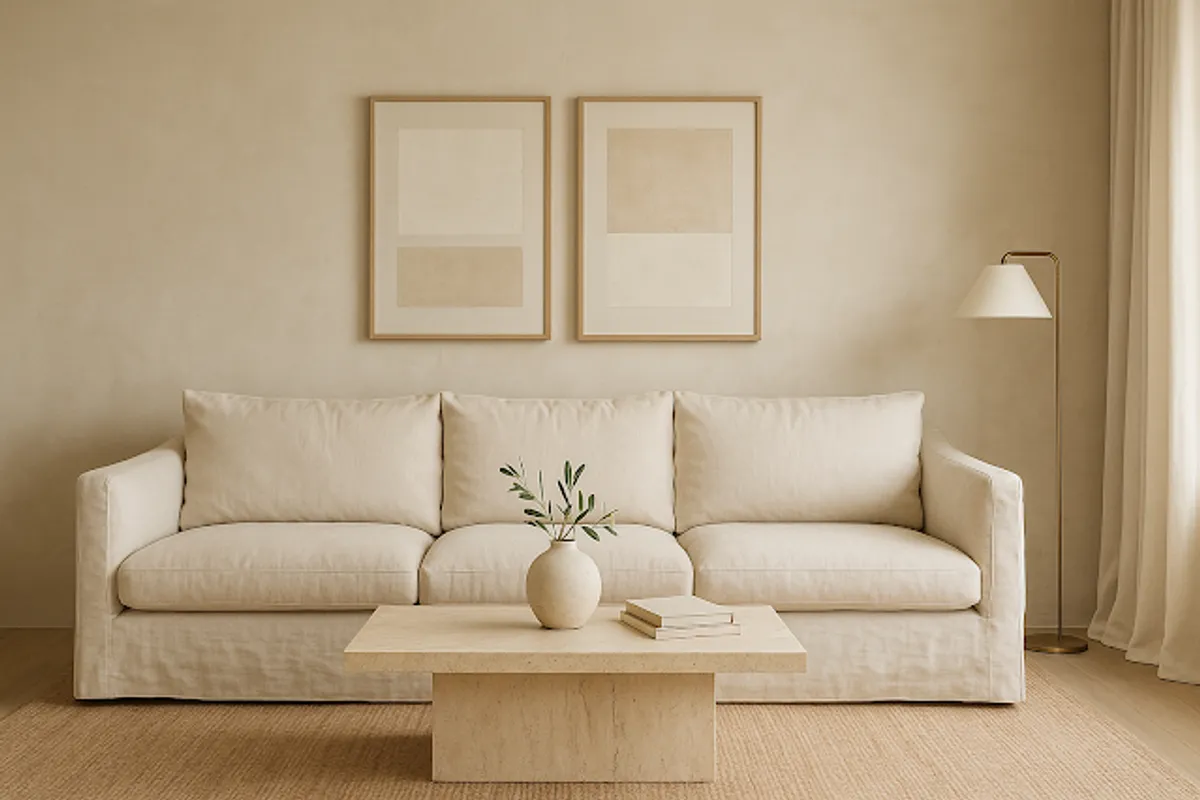
Texture is everything here. You want contrast—things that feel different from the wall.
- Floor: Chunky jute rug for warmth and tactile contrast. The rough weave against that smooth chalky wall is chef’s kiss.
- Metals: Blackened bronze hardware or aged brass. Skip chrome—it’s too cold. Brass plus greige limewash is basically a cheat code for looking expensive.
- Fabrics: Linen. Always linen. Linen curtains that pool slightly on the floor amplify that soft, diffused light.
- Stone: Travertine side tables or tumbled marble trays. Natural stone and limewash share the same mineral DNA—they just go together.
- Wood: Dark walnut or weathered oak. I like mixing one dark wood piece (a console or shelf) with lighter tones for visual weight.
How to Actually Apply Limewash (Without Messing It Up)
Look, it’s not hard, but there’s a process. Skip steps and you’ll be redoing it—ask me how I know.
- Prep the wall properly. Patch any holes, sand rough spots, wipe off dust. The coating grips better on a clean surface. This is boring but non-negotiable.
- Prime only where you need to. Glossy spots and sealed patches need a coat of primer. Everything else? Just dampen the wall slightly with a spray bottle.
- First coat—go messy on purpose. Use a wide masonry brush and work in random criss-cross strokes. This creates the movement and variation that makes limewash look handmade. If you’re painting perfectly even strokes, you’re doing it wrong.
- Let it dry completely. Patience. Seriously. Overnight if you can.
- Second coat—lighter and more refined. Less product on the brush, slightly more intentional strokes. This is where the depth builds.
- Optional sealer. For areas near a kitchen or where kids touch walls constantly, a mineral sealer adds protection without killing the matte finish.
Tips That Actually Matter
- Work in small sections—maybe 3-4 feet at a time—so your edges stay wet. Dry edges create visible seam lines and they’re annoying to fix.
- Feather your strokes around outlets and trim to avoid harsh outlines.
- Step back every few minutes. Like, actually step back 6-8 feet and look. Adjust your pattern before it dries.
- Test your colour in both morning and evening light before committing to an entire room. I’ve seen “perfect” samples turn grey-pink at sunset. Not fun.
Limewash vs. Regular Paint—Real Talk
I treat these as completely different products. Regular paint lays flat, uniform, predictable. That’s fine for ceilings and closets. But for a living room wall you actually look at? Limewash adds dimension that paint literally cannot replicate.
| Limewash | Regular Paint | |
|---|---|---|
| Texture | Chalky, varied, organic | Flat, uniform |
| Light reaction | Shifts with natural light | Stays the same |
| Durability | Develops patina | Shows scuffs |
| Cost | Similar to premium paint | Cheaper options available |
| Application | Brush only, 2 coats | Roller or brush, 2-3 coats |
| Touch-ups | Dab thin slurry, blend | Repaint entire section |
Common Questions
Can I limewash over existing flat paint? Yes—and it’s actually easier than you’d think. Wipe off dust, spot-prime any glossy areas, dampen the wall, and apply. I skip heavy priming unless I see stains or patchy spots. Quick win.
What about bathrooms or wet areas? For splash zones (behind a sink, near a tub), use a mineral sealer. For a full shower wall, honestly, look at tadelakt instead—it’s designed for constant water exposure. Limewash in a half-bath or powder room? Perfectly fine without sealer since there’s minimal direct water.
Is it worth the effort? If you care about how your walls make you feel—yes. It’s a weekend project that completely changes a room’s character. It’s one of those upgrades where people walk in and say “something’s different” without being able to pinpoint exactly what. That’s good design.
Ready to Try It?
Grab a brush, pick a wall—start with a small accent wall if you’re nervous—and just go for it. The beauty of limewash is that “imperfect” IS the goal. You’re not trying to paint a smooth, flawless surface. You’re building character.
And if your living room ends up looking like it belongs in an Italian countryside villa? Well. You’re welcome.